


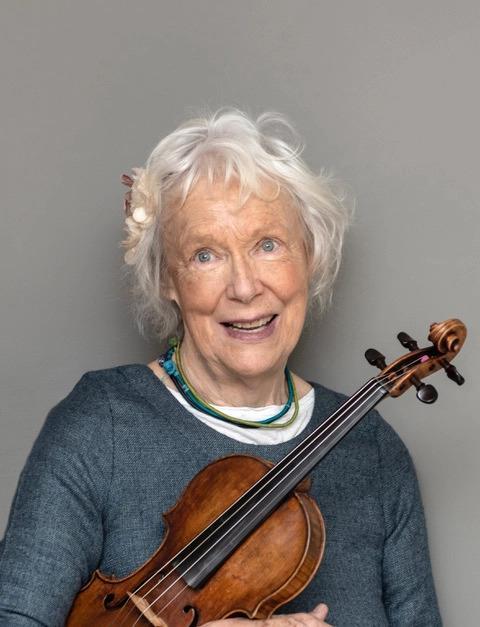
Violinist and Suzuki pedagogue Helen Brunner advocates for a thoughtful, step-by-step approach to practice
Explore more Technique articles like this in The Strad Playing Hub
My driving instructor, in the old days, told me that people usually failed the parallel parking section of the driving test because they learnt to park too hastily, just guessing. They still do. He then explained all the steps of parallel parking – stopping with time between each procedure. Explanation, training, and anticipation. There is so much to do – aligning the car, fixing mirrors, stop, head left, head right, brake, eyes, breathe, window, reverse, turn, pedal, straighten up, time. Repeat. He taught me exactly how to do it, step by step. Full understanding. Can you park your car with ease and efficiency?
The same training could be applied to violin practice to achieve technical ease and efficiency in performance. Stop, time, and think before you play. Working this way right from the start will enable you to have the skills to fly because you will know how to do it technically, step by step. No guessing.
Take the humble G minor arpeggio, in two octaves:

G Open string. Stop. Think before you play. G string posture, bow parallel to the floor (common error). Catch the left side of the G string with the bow (common error) with all the hairs on the bow for a strong and confident start. Leave the big bows for musical shaping at the top of the arpeggio. PLAY.
B flat Where does the second finger go? Test. Feel the connection between the first and second finger, A and B flat. Stop. Breathe. Before you play, prepare to make the first string crossing by starting to release some weight into the right arm (common error). Elbow leads in anticipation for the new string (common error). PLAY.
D Open string, therefore requiring less bow. No booming, especially as this is a down bow (common error). PLAY.
G Think. Time. This note is the first ringing octave. Do not miss the exact sweet spot on the third finger which squeezes the string. And seek the precise sound point on the D string (1mm) which will make the open G vibrate (common error). Now we can hear two Gs sounding together, just like double stopping…Magic Resonance! Stop. The right arm prepares to sink ready for the A string as you play (common error).
B flat The low first finger steps back: it is not in half position (common error). Let the finger feel the end nut and place the tip of the finger near the open string. Avoid squeezing the neck of the instrument at this point (common error). Catch the string. PLAY.
D Another octave ringing note. Find the correct spot on the string, maintaining the integrity of the third finger. The right arm now prepares to sink on to the E string. This is the largest string crossing, so the right elbow lowers several centimetres (common error). This advance preparation of the right arm prevents any unwelcome E string whistles. PLAY, listening for the open D. Every string crossing requires the bow to become perpendicular to the new string.
G Stop. Time. This is the top note of the arpeggio. The bow plays on the right side of the E string for the best natural tone. This ringing note is two octaves away from the G string, so listen most carefully for that far away resonance (common error). “SING” this top note of our beautiful arpeggio with a full bow. The second finger should keep its integrity and not collapse back with the wrist (common error). Breathe. PLAY.
D Now the left elbow can usefully come underneath the violin, with the left hand pronating, to facilitate the safe landing of the third finger. The sweet spot on the finger has to match the sound point on the string Stop. Time. Now prepare the right hand to carry the bow back over onto the A string. PLAY. Listen to the open D ring.
B flat Time. Step back onto the B flat feeling the end nut but without the wrist collapsing. Pronate the left hand and elbow to anticipate the placement of the third finger, which should hover over the D string. PLAY.
G Think. Place the third finger. Stop. Time. Catch the start of the up bow clearly, engaging the right thumb (common error). PLAY. Listen for open G ringing.
D Stop. Open string. Keep the integrity of the left hand, ready for the B flat to follow, preparing the left elbow under the violin for its biggest move, to the G string platform. Start preparing the bow to catch the left side of the G string (common error). Time. PLAY.
B flat Second finger steps back. Right hand catches the left side of the G string for the biggest, best sound. PLAY.
G Grand finale. Deep tone. Keep the violin up, with flat hair on the bow. All the energy is in your beautiful bow arm. Triumphant ending. PLAY.
‘There is no such thing as a ”nearly in tune” ringing note,’ Dr Suzuki used to say. A resonant note either is, or is not, in tune. YES or NO. You cannot be half pregnant. It is simple science.
Read: Opinion: The importance of repetition in teaching
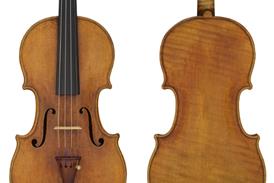
Read: Suzuki pioneer’s Girolamo Amati II violin to be displayed in Cremona
Explore more Technique articles like this in The Strad Playing Hub


No comments yet